If you’re an artistic girl, you know that your hair is a canvas. And just like with any other work of art, you want the perfect color to complete the look. But with so many options, it can take time to decide which is right for you. Luckily, we’ve put together a list of the best hair colors for artistic girls. From bright and bold hues to understated and natural shades, there’s sure to be a perfect match for everyone. So read on and find your new signature color!
Creative hair color ideas for artistic girls
- Ombre: An ombre hairstyle is perfect for artistic girls who want to express themselves through their hair. This hairdo combines two or three colors, usually darker on the roots and lighter on the ends. It’s a playful way to add dimension and interest without going too crazy.
- Highlights: If you need to decide if you want to commit fully to an all-over color job, highlights are a great option! They allow you to show off your creative side while keeping most of your natural hair color intact. In addition, with highlights, you can play around with different colors and effects — ranging from subtle streaks to bold chunks — depending on how daring you’re feeling that day.
 Balayage: The balayage technique is a great choice for artistic girls who want to experiment with color. It’s a freehand coloring method that results in natural-looking, seamless streaks of varying colors and shades. You can get creative with your highlights and lowlights, creating unique combinations and effects that will show off your style.
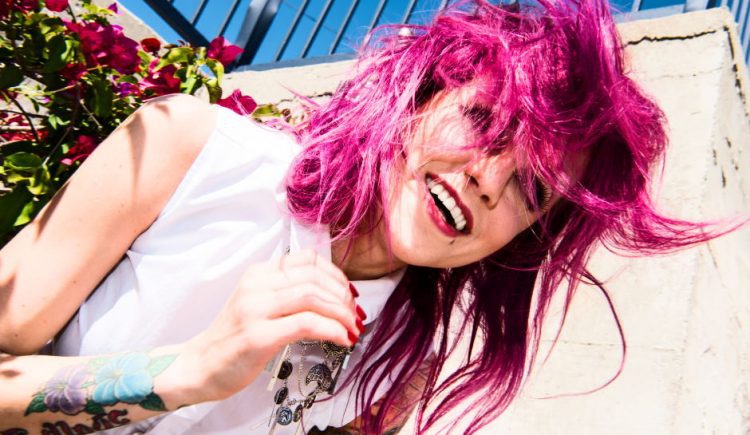
- Unicorn Hair: If you’re feeling particularly bold, why not try out unicorn hair? This look incorporates multiple bright colors — usually including pink and purple — to create an eye-catching rainbow effect. It’s perfect for those who want to stand out from the crowd!
- Pastels: For a more subtle approach, pastel hair colors can help you make a statement without being too over the top. Try soft shades of lavender, mint green, or baby blue for an ethereal, feminine look that will express your creative side.
- Hair Chalking: Are you still waiting to commit to full-on color? Hair chalking is a great way to experiment with different shades without having to dye your hair. Instead, all you need are some chalk pastels and a bit of creativity! With this technique, you can create temporary streaks in a range of colors and styles — perfect for those who want to show off their artistic skills.
- Color Melting: If you’re looking for something subtler than ombre but bolder than highlights, try out color melting! This technique blends two or more colors for a seamless, natural-looking effect. In addition, you can mix and match different shades to create your own unique look.
- Sombre: If you’re looking for something subtle yet still creative, sombre is the way to go. It’s a softer version of ombre that incorporates fewer colors but with just as much edge! Try combining light and dark tones for a striking yet understated look.
- Rainbow Roots: Try rainbow roots for an even bolder take on color! This look combines bright pops of color — like pink and blue — at the roots for a fun, eye-catching style. It’s perfect for those who want to show off their creative side without going too wild.
- Hair Tinsel: If you’re looking for an even more extreme way to express yourself through your hair, try adding some hair tinsel! This shimmery accessory comes in a range of colors and can add instant pizzazz to any hairstyle. It’s perfect for those who aren’t afraid to make a statement.
 Balayage: The balayage technique is a great choice for artistic girls who want to experiment with color. It’s a freehand coloring method that results in natural-looking, seamless streaks of varying colors and shades. You can get creative with your highlights and lowlights, creating unique combinations and effects that will show off your style.
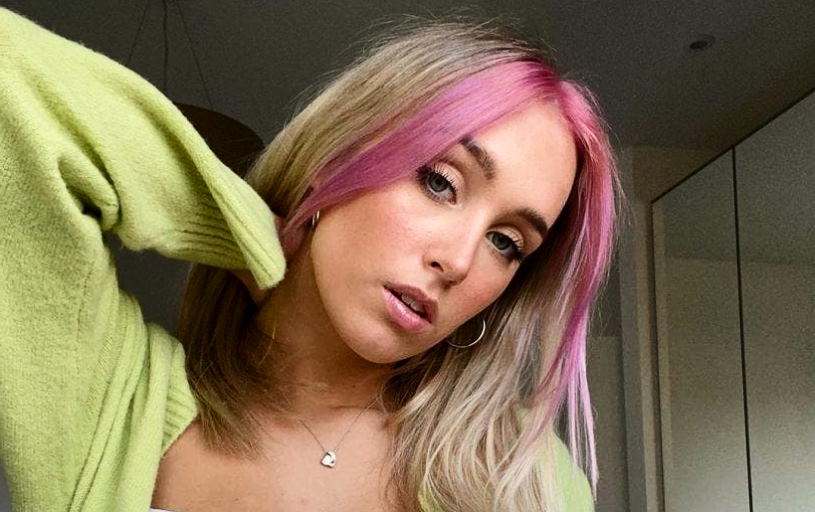
Guide to dyeing your hair with hair chalks
You will need:
- Hair chalk (available in a variety of colors)
- A hair dryer and/or flat iron
- Hair spray or finishing spray (optional)
Instructions:
- Start by washing your hair with shampoo and conditioner. Depending on how light or dark your natural hair color is, you should use a clarifying shampoo before starting the process to ensure that all product buildup is removed from the strands.
- Dry your hair completely using a hairdryer or flatiron before beginning the coloring process. If desired, you can also apply some heat protectant prior to blow-drying or flatironing your hair. This will help keep your hair healthy and protect it from possible damage.
- Once your hair is dry, section off the area you want to color with clips or a comb. Start with small sections at a time so you can easily control the placement of the chalk.
- Take a piece of hair chalk and rub it onto the strands until they are fully saturated in color. Repeat this step for each section of hair you want to dye.
- Optional: For added protection against fading, use a light spray of hairspray or finishing spray over the colored sections before moving on to another one (make sure to not over-apply as this can make your hair look greasy).
- Style your newly dyed hair as desired. You should use a low-heat setting on any heat styling tools to avoid damaging the chalk color.
- Enjoy your new hair!
Tips & Tricks:
- To prevent staining, try using gloves while applying the hair chalk and concentrate the dye only on your hair strands and not your scalp.
- When finished coloring, use some dry shampoo or cornstarch on the scalp to absorb any excess oils or residue left behind (this will also help reduce fading).
- After dying, always use cold water when washing your hair to preserve the color longer.
- For longer-lasting color, try mixing a few shades of chalk to create your unique color. This will also give you more control over the intensity of the color without having to reapply often.
- If desired, you can even use hair chalk to add highlights or lowlights by applying it in thin streaks throughout your hair. The possibilities are endless!
- Try not to wash your hair too often as this could cause the dye to fade faster than normal. It is best to wait at least 2-3 days before rewashing your hair.


